Top 10 Cannabis-Friendly Honeymoon Destinations
In our exploration of the most captivating weed-friendly honeymoon destinations
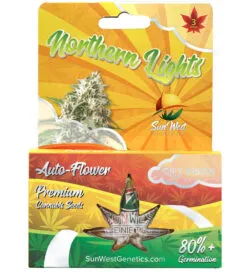
$65.00 – $240.00Price range: $65.00 through $240.00

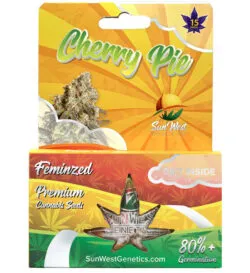
$65.00 – $240.00Price range: $65.00 through $240.00

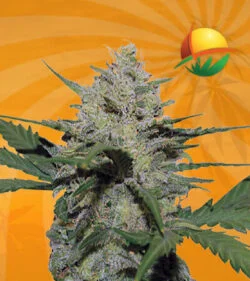
$65.00 – $240.00Price range: $65.00 through $240.00
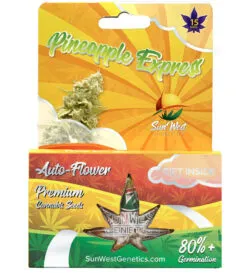
$65.00 – $240.00Price range: $65.00 through $240.00

$65.00 – $240.00Price range: $65.00 through $240.00


Growing cannabis indoors could be highly gratifying, particularly when cultivating in a specially adapted developing container or tent. Sadly, both choices can be expensive except if you design your own, that also isn’t so difficult to do. Below we’ll think about whether you’d like to use a growing box or tents as well as how to build your DIY grow tent.
Cannabis has become increasingly common. Cannabis gains popularity all over the country. Hemp is acceptable in several more countries as well as possession of certain types of cannabis has been either outlawed or legalized by many in the US.
Also, several American states have since allowed marijuana cultivation. Because of all this, producing marijuana at houses is much less trendy now than it was then; however, the optimal conditions would always be required for the most success. This is why you would like to suggest using that box or tent.
While it is valid that cannabis is a crop that can thrive in almost any environment, you wouldn’t want a crop that simply survives. You would like to see your plant prosper. A grow box or tent could simplify the process.
Advantage of grow boxes and tents:
Difference Between Grow boxes and Tents – A growing tent has the exterior of cloth or plastic when a package is rigid. We’ll show you how to build your tents for this piece. There are several styles of rising configurations, of course, varying from a huge tent to something like a packed room and none is greater than the next, per se. Depends on the specific choice, your perfect design.
Some farmers, for instance, need to have the stealthiest option, so go for something like a PC grow box that essentially grows a crop within the blank computer system.
You can build a growing tent for as little as $100. Here’s when it takes you:
You will be using duct tape or an equivalent barrier tape but never Scotch tape, since this tape would be used to connect the Poly. Your Velcro (or cable ties) is now built to protect loose wires. The tent wants each black as well as white poly as they’ll be used to handle the sun. The structure’s white side reflects light, whereas the black side absorbs heat.
It may also be recommended that perhaps the adjustable shelving devices should be used conversely of PVC piping since it is extremely easy to install. You can build a growing tent incorporating PVC piping unless you don’t bother doing somewhat more work.
How to build:
You’ll need to have a nice-sized container anyway. It must be strong and durable enough to cope with a cannabis plant’s elaborate root system. Don’t try to throw your vessel with nitrogen fertile soil that is suitable for cannabis growing. Place your jar and crop in your newly grew tent and you’re able to grow weed yourself. This is to ensure that you will get the perfect setup that you want for your tent.
Now that your DIY grow tent is ready, You may start to think about the way your crops are grown. When you want to begin with seeds, then you will ripen the seeds. Purchase recreational cannabis in seed stores that are guaranteed to sprout the seeds for you. Additionally, you can continue with clippings or other crop clones yourself.
In our exploration of the most captivating weed-friendly honeymoon destinations

Bongs play an important role in enhancing the smoking experience.

Marijuana allergies are a topic of growing interest due to

Cannabis-infused lubricants, often called cannabis lube, have become popular recently
Are You 18 Or Over?
By clicking 'Continue', you confirm that you are over 18 years old. By using this website, you agree to our disclaimer.